Set up grids around focal points. For example, sample points in your study
area with sample_ct() then use grid_ct() to establish a grid of camera
traps around each.
Arguments
- features
sf features (see
sf::st_sf())- distance
distance between adjacent camera traps. Don't worry about the hypotenuse.
- case
"queen", "rook", "bishop", or "triplet". Ignored if
nis provided.- n
number of points around each focal point.
noverrides thecaseargument, do not provide both - see Details.- id
default: "id_sample_ct" generated automatically from
sample_ct()
Value
Extended sf object either nine times the length of input features for 'queen' case or 5 times the length of input DT for 'rook' or 'bishop' case. Otherwise n * number the length of input features. See examples.
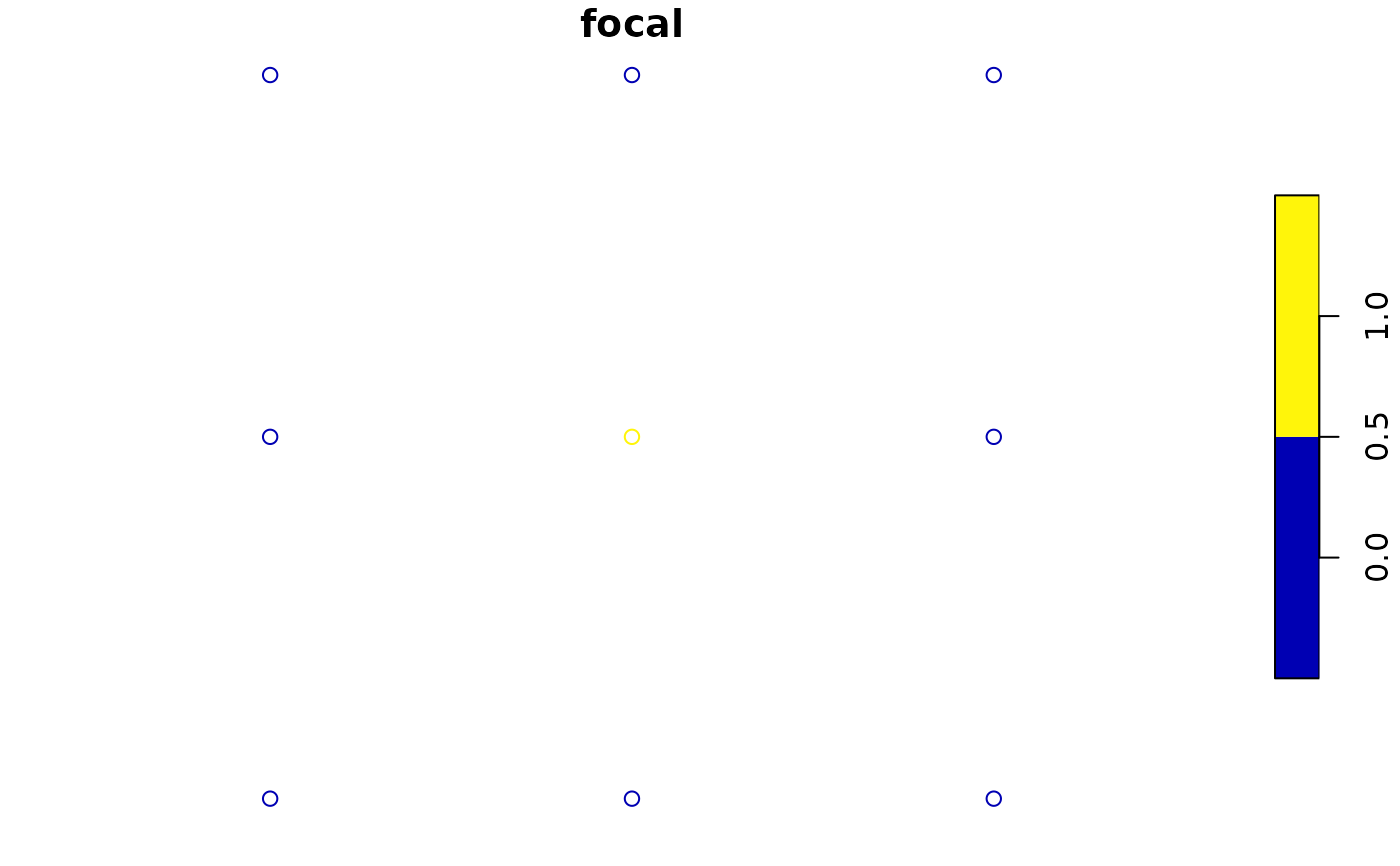
The logical 'focal' column indicates which point is the focal camera trap for each grid.
See also
Other grid:
grid_design()
Examples
data("clearwater_lake_density")
pts <- sample_ct(clearwater_lake_density, 1, type = 'random')

# Make grid with case, eg. 'queen'
queen <- grid_ct(features = pts, distance = 100, case = 'queen')

# Plot
plot(queen['focal'])


# Make grid with n
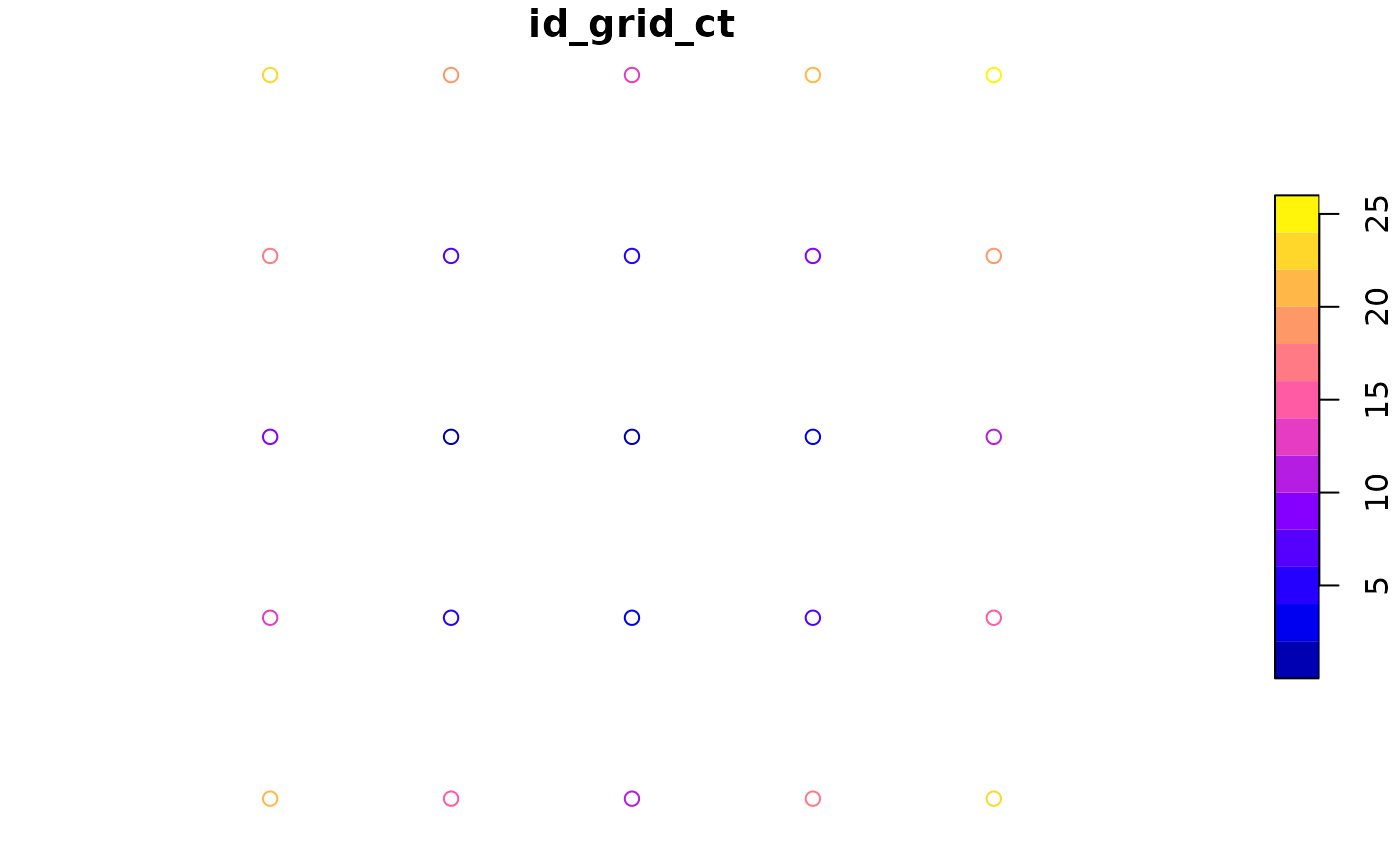
n_grid <- grid_ct(features = pts, distance = 100, n = 25)
plot(n_grid['id_grid_ct'])
